Step 1: Physical Assembly
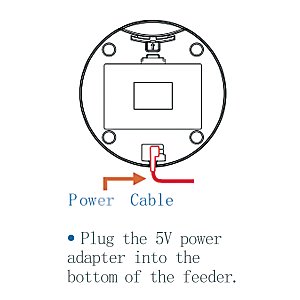
Connect Adapter to Feeder
Plug the power adapter's jack into the port at the bottom of the feeder. Use the cable management slot to keep the wire flush.
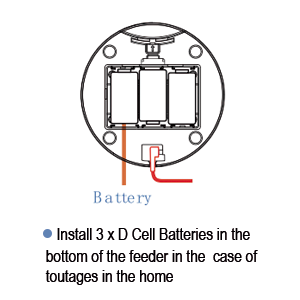
Install Backup Batteries
Insert 3 × D Cell batteries into the bottom compartment. This ensures scheduled feeding continues during power outages.
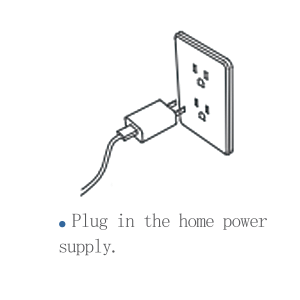
Plug into Wall Outlet
Connect the adapter to a wall outlet. Note: The device must be plugged in via the adapter to perform App pairing.
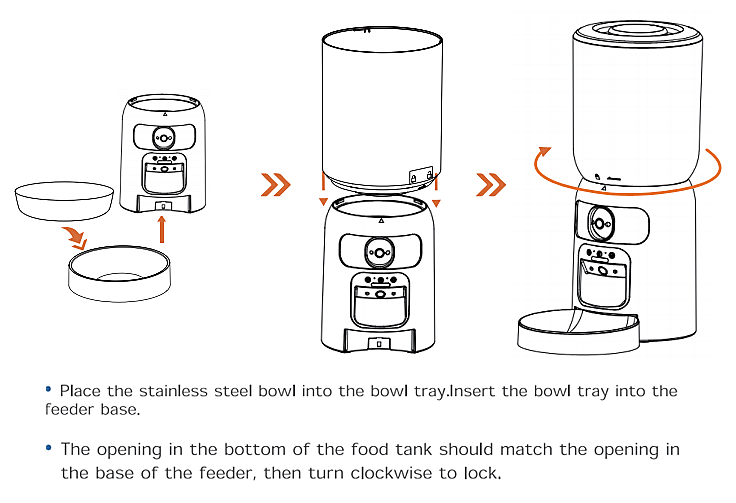
Hardware Assembly
Align the food tank opening with the base and turn clockwise to lock. Finally, slide the bowl tray into the base.
Step 2: Status Light Decoder
Click each indicator to identify your device state.
Click an LED status above to view instructions.
Step 3: App Connection Guide
Watch this 3分47秒 video to complete the connection quickly.
Step 4: Troubleshooting
🌐 Connection Failed?
First, reset the device. Verify that your home network is working, the password is correct, and you are connected to the 2.4GHz band.
🥣 Food Stuck?
Ensure kibble diameter is between 5-15mm. Avoid using damp or sticky food. If jammed, manually clean the outlet.
📷 Blurry Image?
Gently wipe the camera lens with a clean lens cloth or specialized cleaning solution to remove dust, fingerprints, or stains.
🔋 Battery Mode?
The device will not connect to the network when powered only by battery to save energy. Ensure correct polarity during installation.
Need more help?
Download the complete user manual for detailed technical specifications.
Download Full PDF Manual